Final Configuration
Contents
Update Profile Tables
We have created a DASH profile that will be used in the DEMO dashboard page included with the installation. We have included the SQL script Update_Profile.sql in the DASHv2.0 folder.
Use the MySQL Administration application to restore this file into the J2 schema. If you created the jetspeed schema in Data Base Preparation with a name other than J2 - the script will need to be modified. If you are using a different database other than mysql - the script will need to be modified as well.
Startup DASH
Startup DASH with the script for your platform as noted in Startup DASH and Deploy WARs
Login as Admin
Access your DASH installation by entering the following address in your browser:
http://localhost:8080/jetspeed - this assumes that you are accessing on your machine - otherwise change localhost to a server name or ip address.
The new Login page is displayed:
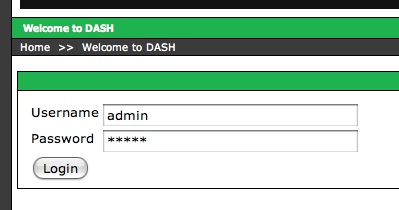
Login as admin with your new password.
Enter License Key
MARVELit should have sent you an email with a license key. If you want to use DASH for a trial period, the key will allow dash to be used for 30 days. If you have purchased a lcense, your key will never expire.
The process to enter you key is the same - after logging in as an admin -
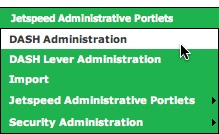
Selecting MARVELit Administration displays a page for entering the MARVELit License Key, setting the default data source, setting data maps and adding/updating data sources.
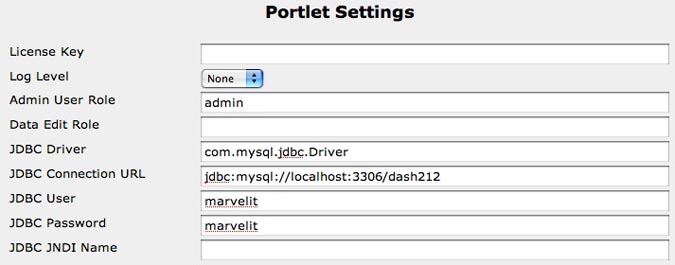
The first entry is for entering the MARVELit License key. Copy and paste the key that you received during the trial or purchase registration process. DASH will not operate without a valid License Key entered into this field.
Set up Welcome Page Portlets
After you login - the Welcome page is displayed. This page contains 8 portlets that need to be configured for a Welcome demo dashboard. This is good practice on using the DASH meter, chart and report portlets.
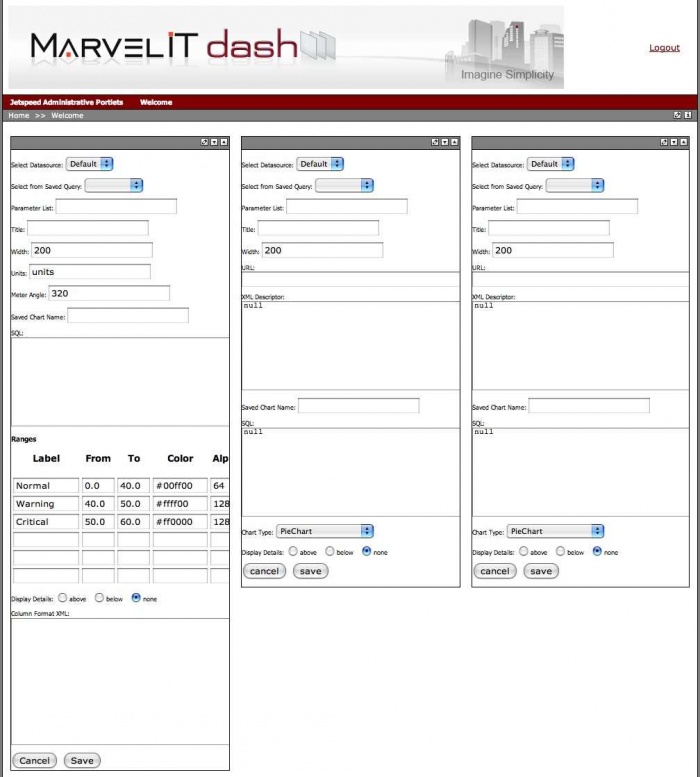
Here is part of the page that is displayed :
Starting with the top row - moving left to right - Configure each portlet as follows:
Portlet 1 - Meter - Select Demo as Datasource, Select Welcome1 as Saved Query - the query loads in the portlet - click Display Details - Below. Click SAVE. The meter displays.
Portlet 2 - Chart - Select Demo as Datasource, Select Welcome2 as Saved Query - the query loads in the portlet - click Display Details - Below. Click SAVE. The chart displays.
Portlet 3 - Chart - Select Demo as Datasource, Select Welcome3 as Saved Query - the query loads in the portlet - click Display Details - Below. Click SAVE. The chart displays.
Middle row - moving left to right - Configure each portlet as follows:
Portlet 4 - Chart - Select Demo as Datasource, Select Welcome4 as Saved Query - the query loads in the portlet. Click SAVE. The chart displays.
Portlet 5 - Chart - Select Demo as Datasource, Select Welcome5 as Saved Query - the query loads in the portlet. Click SAVE. The chart displays.
Portlet 6 - Chart - Select Demo as Datasource, Select Welcome6 as Saved Query - the query loads in the portlet. Click SAVE. The chart displays.
Bottom row - moving left to right - Configure each portlet as follows:
Portlet 7 - Chart - Select Demo as Datasource, Select Welcome7 as Saved Query - the query loads in the portlet. Click SAVE. The chart displays.
Portlet 8 - Report - Select Demo as Datasource, Select Welcome8 as Saved Query - the query loads in the portlet. Click SAVE. The report displays.
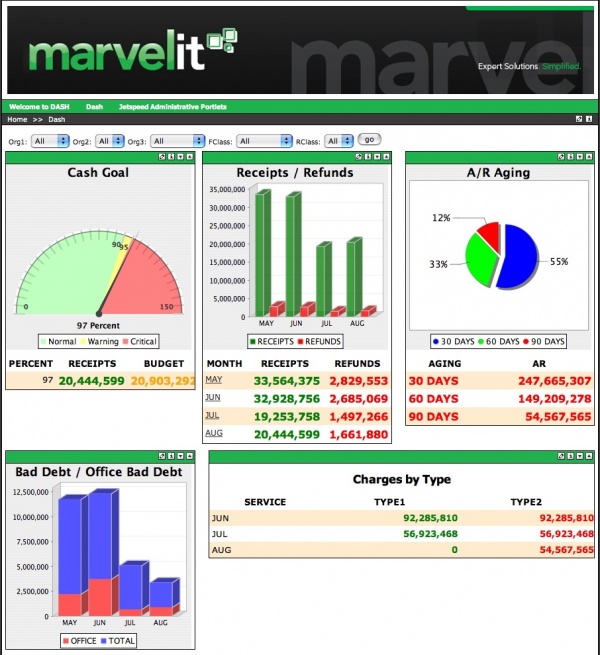
Here is the Welcome page after it is configured:
You are All Done
That's it. You now have DASH configured and can build your own dashboards. Some things to review on the Welcome pane.
Review each Portlet - click on the pencil icon in the upper right corner of each portlet. Read the sections on Meter, Chart and Report portlets in this wiki.
- Chart Portlets , How to update and save MARVELit Charts
- Report Portlet , How to update and save MARVELit Reports
- Meter Portlet , How to update and save MARVELit Meters (dials)
Review the Levers - Select Jetspeed Administration Portlets - than DASH Levers Administration - the Levers are displayed. See the Levers sections for further information.
- Levers Portlet , How to add Levers (pull down selections) and have them work on a page
Review the Page Layout - click on the pencil icon in the upper right corner of the Welcome page. See the Page Layout sections for further information.
- Formating Panes , Adding Columns and Rows to existing Dashboard Panes
