Formating Panes
Formatting Panes
Contents
Editing a Pane
After a pane is added in the Portal Site Manager, it needs to be modified to accept portlets and a theme needs to be applied.
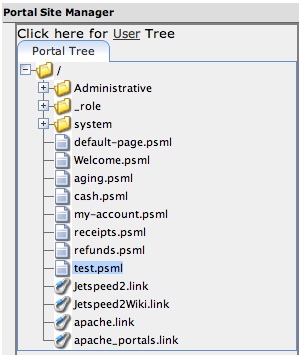
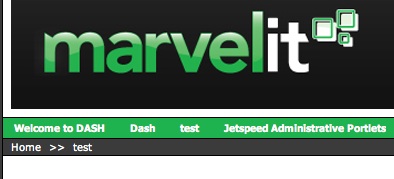
We have added a test page (test.psml) page using the Portal Site Manager. Navigate to that page either by clicking on the VIEW button in the Portal Site Manager or Selecting it from the menu.
To modify a pane click on the small pencil icon in the upper right corner of the pane.
Choosing a Theme
The test pane opens in edit mode.
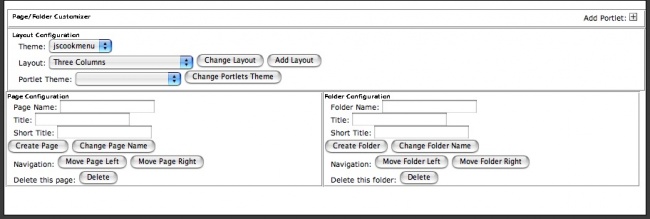
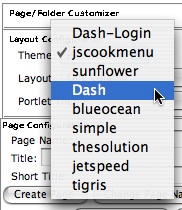
In edit mode - portlets can be added and themes applied. To choose a theme - Click on the Theme pop-up menu. A list of themes (decorators) is displayed. Select the desired theme and click. That theme is applied to the pane.
Themes can be created and modified via CSS Style sheets. See the section Modifying Pane Styles for additional information on creating or modifying themes.
Adding Layouts for Portlets
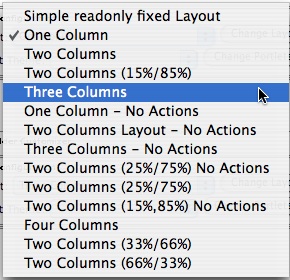
After a theme is chosen, layouts need to be added to the pane that will contain portlets. These layouts are added individually as sections. To specify a layout to be added - select the layout pulldown menu - and click on the type of layout desired. The layouts are column focused. After you select your desired layout - click the CHANGE LAYOUT or ADD LAYOUT button. CHANGE LAYOUT will update the existing layout while ADD ALYOUT will insert another layout row.
Default Layouts
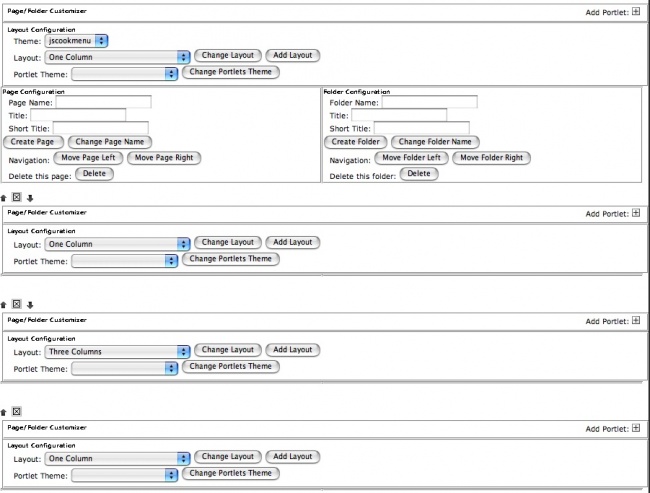
There are specific layouts that should be used as starter layouts. This will enable modifications to be made to panes without alot of portlet editing. As a general rule, start out with a pane that looks like this:
To create this starter layout - change the initial layout to ONE COLUMN - click CHANGE LAYOUT. Than click ADD LAYOUT three times to create a pane that contains four layout sections as shown. If no portlets are added to the layout - it will not affect the display on the pane.
After this is completed - simply modify the center sections to be the desired layout. In this example - the center section was changed to THREE COLUMNS. Adding additional layouts to the center section only leaves ample sections for later with out moving portlets around.
Re-Arranging and Deleting Layouts
To delete a complete layout from the pane - click the X box next to the arrow above the layout name. To move a layout - click the arrows.
