Difference between revisions of "Execute DASH Installer"
From MT Marvelit
Rmortensen (Talk | contribs) |
Rmortensen (Talk | contribs) |
||
| Line 3: | Line 3: | ||
[[Image:Install1.jpg|500px]] | [[Image:Install1.jpg|500px]] | ||
| + | |||
Accept the License - Click Accept | Accept the License - Click Accept | ||
| + | |||
[[Image:Install2.jpg|500px]] | [[Image:Install2.jpg|500px]] | ||
| + | |||
Select an installation Folder - Click Next | Select an installation Folder - Click Next | ||
| + | |||
[[Image:Install3.jpg|500px]] | [[Image:Install3.jpg|500px]] | ||
| + | |||
Confirm Jetspeed Components - Click Next | Confirm Jetspeed Components - Click Next | ||
| + | |||
[[Image:Install5.jpg|500px]] | [[Image:Install5.jpg|500px]] | ||
| + | |||
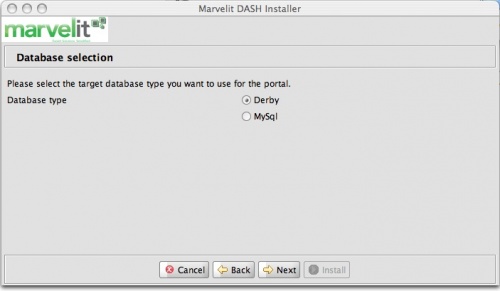
Select your desired Database for DASH | Select your desired Database for DASH | ||
| + | |||
[[Image:Install6.jpg|500px]] | [[Image:Install6.jpg|500px]] | ||
| + | |||
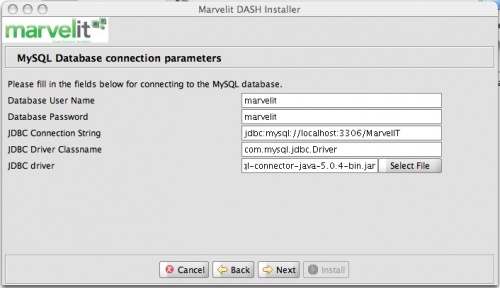
If you selected MySQL - enter database details | If you selected MySQL - enter database details | ||
| + | |||
You will need to create a database for DASH - See: | You will need to create a database for DASH - See: | ||
| Line 28: | Line 38: | ||
[[Image:Install7.jpg|500px]] | [[Image:Install7.jpg|500px]] | ||
| + | |||
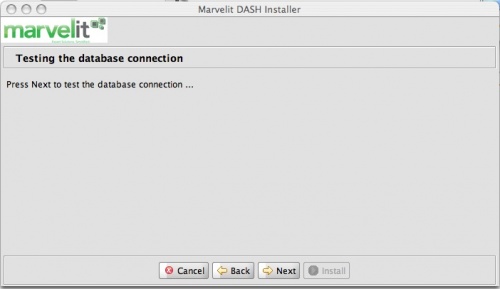
If you chose MySQL - Test the database connection by clicking next. Resolve connection errors | If you chose MySQL - Test the database connection by clicking next. Resolve connection errors | ||
| + | |||
[[Image:Install8.jpg|500px]] | [[Image:Install8.jpg|500px]] | ||
Revision as of 03:23, 2 August 2007
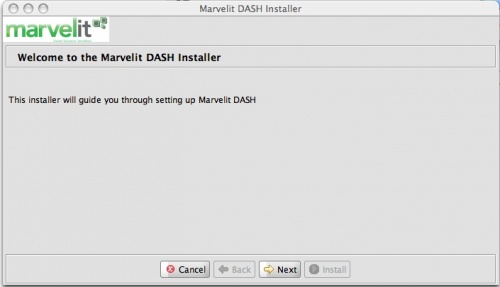
Unzip and start the installer
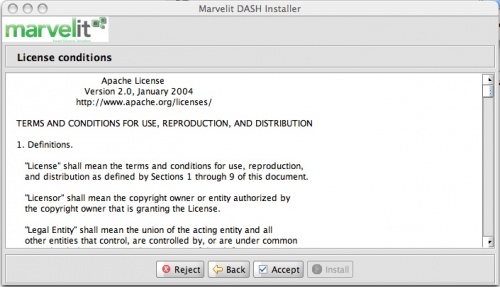
Accept the License - Click Accept
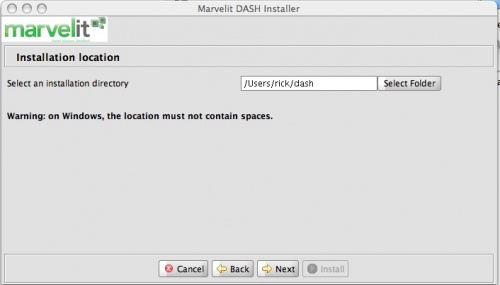
Select an installation Folder - Click Next
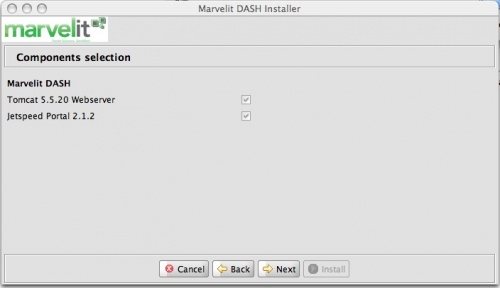
Confirm Jetspeed Components - Click Next
Select your desired Database for DASH
If you selected MySQL - enter database details
You will need to create a database for DASH - See:
For Instructions
If you chose MySQL - Test the database connection by clicking next. Resolve connection errors
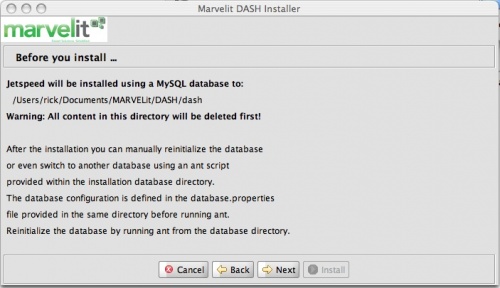
Confirm Installation by clicking Next
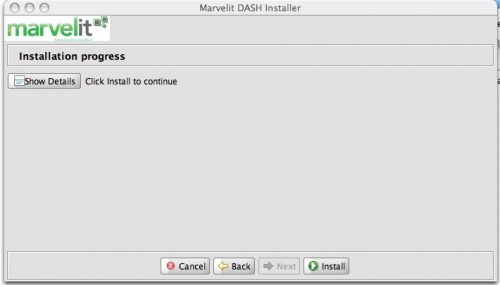
Click Install to begin the Installation
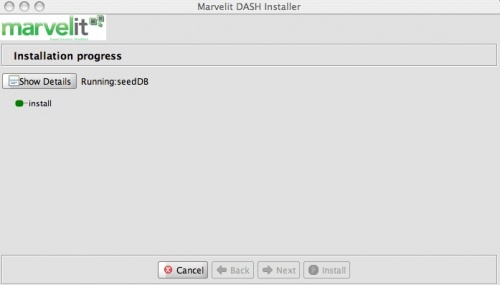
View Installation Progress
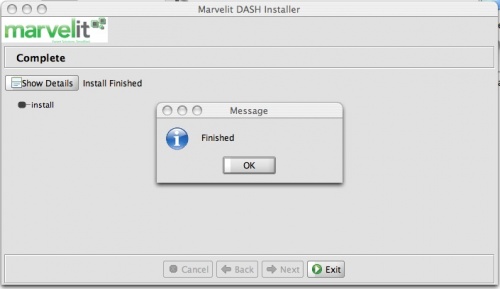
Installation is Complete
